
About Sony Xperia Z
The
Sony Xperia Z is a rectangular slab that marks a departure from Sony's 2012
design. The design is "Omni-Balance", according to Sony, which is
focused on creating balance and symmetry in all directions. Xperia Z has subtly
rounded edges and smooth, reflective surfaces on all sides, which are held
together by a skeleton frame made from glass fibre polyamide. The phone
features tempered glass covered by shatterproof film on front and back. The Aluminum power button is placed on the right side of the device. The location
is said to make one-hand operation easier. The metallic look and positioning of
the power button is inspired by luxury watch crown design. The phone is
available in three colours; black, white and purple.
For Rooting Sony Xperia , You Will Need :
1. PC/Laptop Running Windows 7/8.
2. Sony Xperia with atleast 50% battery charge left.
3. Download the Rooting Tool
For Rooting Sony Xperia , You Will Need :
1. PC/Laptop Running Windows 7/8.
2. Sony Xperia with atleast 50% battery charge left.
3. Download the Rooting Tool
4. Sony USB Drivers
Disclaimer : ROOTING VOIDS WARRANTY! Also, We are not responsible for any damage caused to the device! Make sure you backup everything like your contacts,Apps and everything that is important.
INSTRUCTIONS :
1) Enable USB debugging [/Settings/Developer options] - To enable Developer options you need to go on /Settings/About phone/ and tap your 'Build number' 8 times...
2) Download your device drivers, then install them.... and then
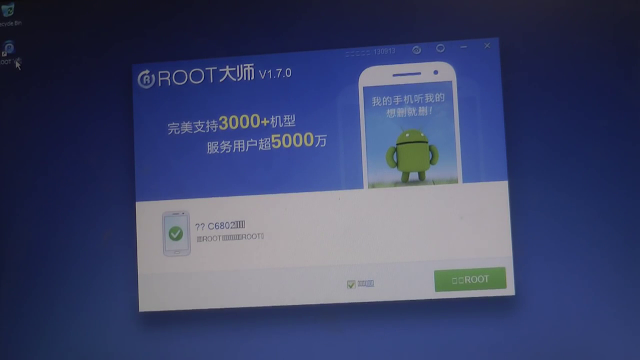
3) Download VRoot

.png)
5) Your phone needs to be turned on and your lock screen unlocked...
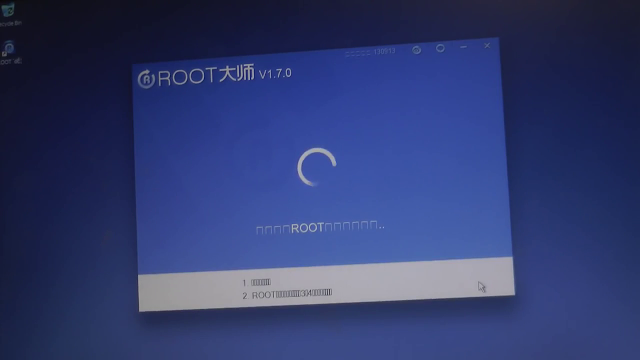
6) Click the green button on the bottom right corner of the vRoot application
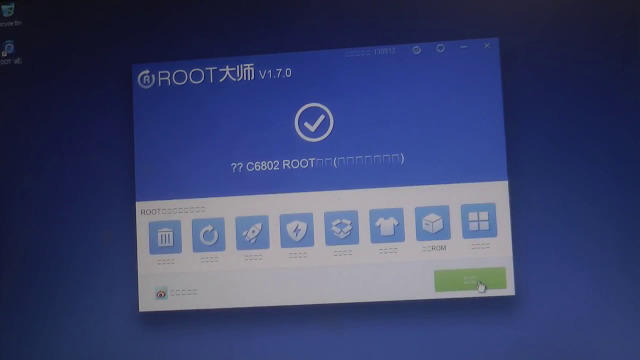
8) Unplug your phone from the USB, and check to see if the Chinese version of superSU is installed. (it will look like a blue shield)

9) Then go to the playstore, and download superSU/ superuser. Open superSU/ superuser.
10) Allow binary update, and then plug your device back into your laptop, and open vRoot.
11) Click the white button (unroot) and wait for your device to reboot
12) Click on superSU/ superuser (which ever you downloaded) and allow binary update (again!), then go into the superSU/ superuser settings and select 'install to system'
13) restart your device.... done! Now your device is rooted.


0 comments:
Post a Comment