To Restoring The Boot Loader:
This applies to everyone who needs to uninstall Windows 8 from both the classic dual-boot, as well as the VHD method.1. Since we will be removing Windows 8, the first thing you will need to do is boot into your Windows 7.Download and Install EasyBCD from Softpedia.Once downloaded and install Double click to run.
2. On the left hand side you will see a button labelled “Edit Boot Menu” click it to get started.
3. Select the entry named “Windows 8 Developer Preview” once you have it highlighted click the delete button. You will be prompted with a confirmation message, Click ”yes”.
4. Since Windows 7 is going to be the only operating system, select the radio button labelled “Skip the boot menu” under the Timeout Options.
5. You can now click the Save Settings button. To check that the changes have been made, you should reboot, you should boot straight into Windows 7.
If you used the classic method, the next section applies to you, if you used the VHD method skip to the last section.
This next section only applies to those of you who dual-booted using Classic Dual-Boot:
1. We still need to Delete the partition you created for windows 8. This can be done through the Disk Management right click My Computer / Computer then Click on Manage from context menu.Note: After completing the following any information or data that you had in Windows 8 will be lost.
2. Right click on the drive in the list and click on the Delete Volume option in the context menu. You will be prompted and warned that all data will be lost, select yes to continue.
3. You should now see that you have an empty partition denoted by its black header.
4. Now right click on the the partition the partition with the blue header, and select Extend Volume from the context menu.
5. This will open a wizard, you don’t have to change any settings so just click next, next, finish. Once you have completed that you
This next section only applies to those of you who dual-booted using a VHD.
The only thing that you have to do is to delete the VHD File, from the root of your C: Drive.
How to Unattach and Delete a Virtual Hard Disk in Windows 7
A Virtual Hard Disk
is a created VHD file on your hard drive that acts as a separate hard
drive disk in Computer. This will show you how to unattach, or unattach
and delete, the VHD that you have already created and attached in Windows 7.
- Unattach VHD - This will only remove the VHD from Disk Management and make it unavailable in Computer until the VHD file is attached again. It does not delete the VHD file.
- Delete VHD - This will remove the VHD from Disk Management and Computer, and also permanently delete the VHD file and all data stored on it.
- If you disable the Disk Defragmenter service, then you will get the error below when you try to do anything in Disk Management. If you get this error, then make sure that the Disk Defragmenter service is set to only Manual.
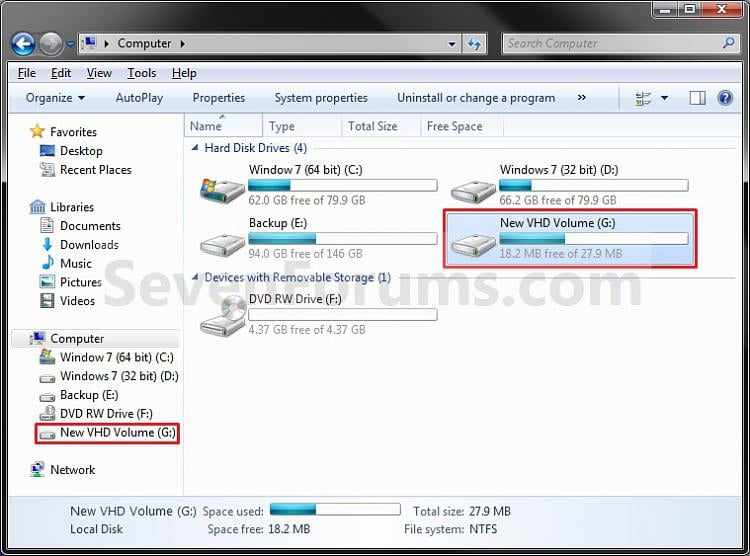
EXAMPLE: Virtual Hard Disk (VHD) in Computer
1. Open the Control Panel (icons view).
A) Click on the Administrative Tools icon, and click on Computer Management.OR
B) Go to step 3.
2. Open the Start Menu.
A) In the Search box, type compmgmt.msc and press Enter.3. If prompted by UAC, then click on Yes.
4. In the left pane, click on Disk Management. (See screenshot below step 5)
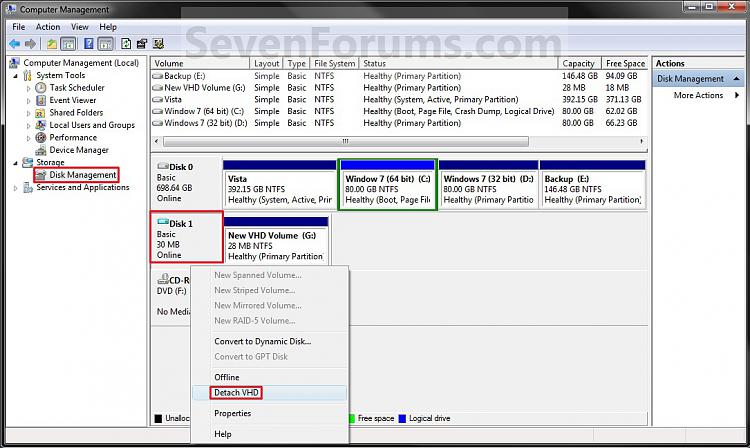
5. In the middle pane, right click on the Disk # of the VHD (left side in middle pane), and click on Detach VHD. (See screenshot below)
6. To Only Detach the Virtual Hard Disk
A) Uncheck the Delete the virtual hard disk file after removing the disk box. (See screenshot below step 8)7. To Detach and Delete the Virtual Hard Disk
B) Go to step 8.
A) Check the Delete the virtual hard disk file after removing the disk box. (See screenshot below step 8)8. Click on OK. (See screenshot below)
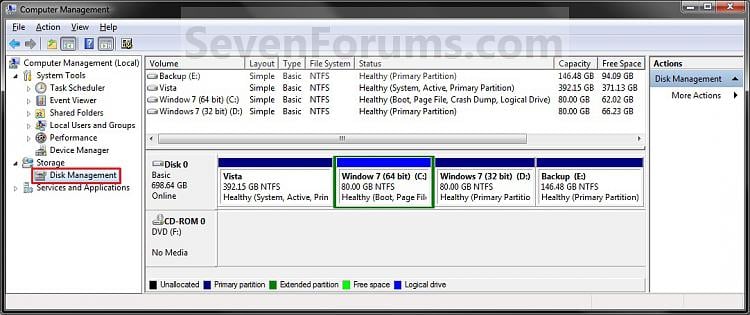
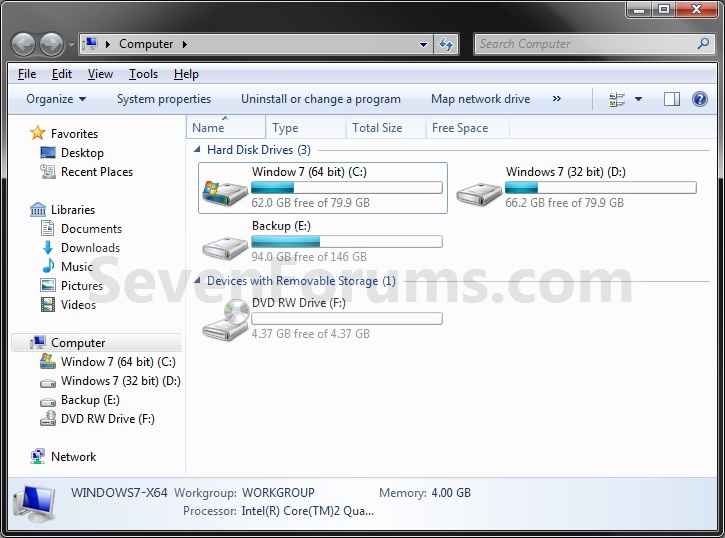
9. The VHD has been removed from Disk Management and Computer. (See screenshots below)
NOTE: If you did step 7, the VHD file will also now be deleted to.


0 comments:
Post a Comment